Upgrading the Dell Inspiron 3880: Making a Cheap Prebuilt PC a Graphics Powerhouse(-ish)
Walk into any big-box tech or office supply store today and you’re likely to find some variant of Dell’s Inspiron 3880 on the shelf. This is Dell’s new “entry-level” machine. It’s an affordable PC with surprisingly capable specs for everyday use. It does, however, have a fatal flaw for those who find themselves needing graphical power: a weak, 200-watt, proprietary-form factor PSU.
If that means nothing to you, then don’t worry about it. This computer is probably perfectly fine for whatever you plan on doing with it.
If you reel in shock at the above statement, then this computer isn’t for you. Buy a gaming PC instead. However, if you already own an Inspiron 3880 and have decided to start gaming, or if a kidlet is nagging you because the family computer can’t FortCraftBattlegound, read on. This article is for you.
The simplest course of action is to buy an Nvidia GT 1030, stick it in the slot, and call it a day. It’s an officially supported card, and it uses only 30 watts. I’ve had an old AMD R7 240 (also 30 watts) in this machine for a bit to test, and it shouldn’t be an issue on the stock 200 watt power supply. I am not an electrical engineer, so do your own research. Dell would certainly tell you not to do this.
The GT 1030 is by no means a bad upgrade. It is a low-end card though. That said, so is my choice, but we’ll talk about that in a bit.
If you want a bit more horsepower, then you’ll need to upgrade the PSU. The factory upgrade for the Inspiron 3880 is a 260 watt “bronze” model. I don’t have the model number for that particular part. However, when searching the part number for the 200 watt PSU that came in my machine, I noticed ebay sellers listing it as an Optiplex 3060/5060/7060 PSU.
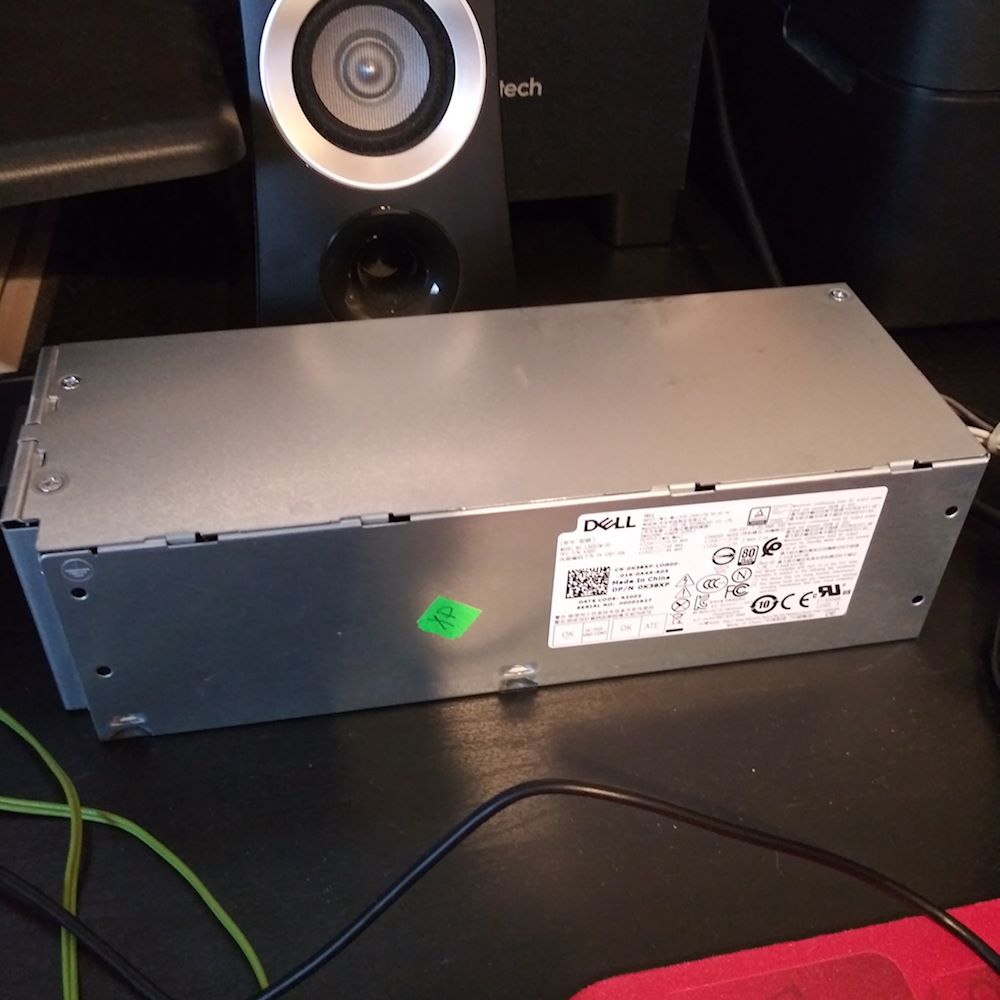
Light bulb moment: it’s a shared part. Indeed, take the front bezel off and our Inspiron 3880 chassis looks almost identical to the tower version of those machines. So, I searched instead for Optiplex 3060 PSUs. That lead me to the K38XP, a 360 watt model that also happened to have a 6-pin graphics card power plug. Hot diggity! Here it is:
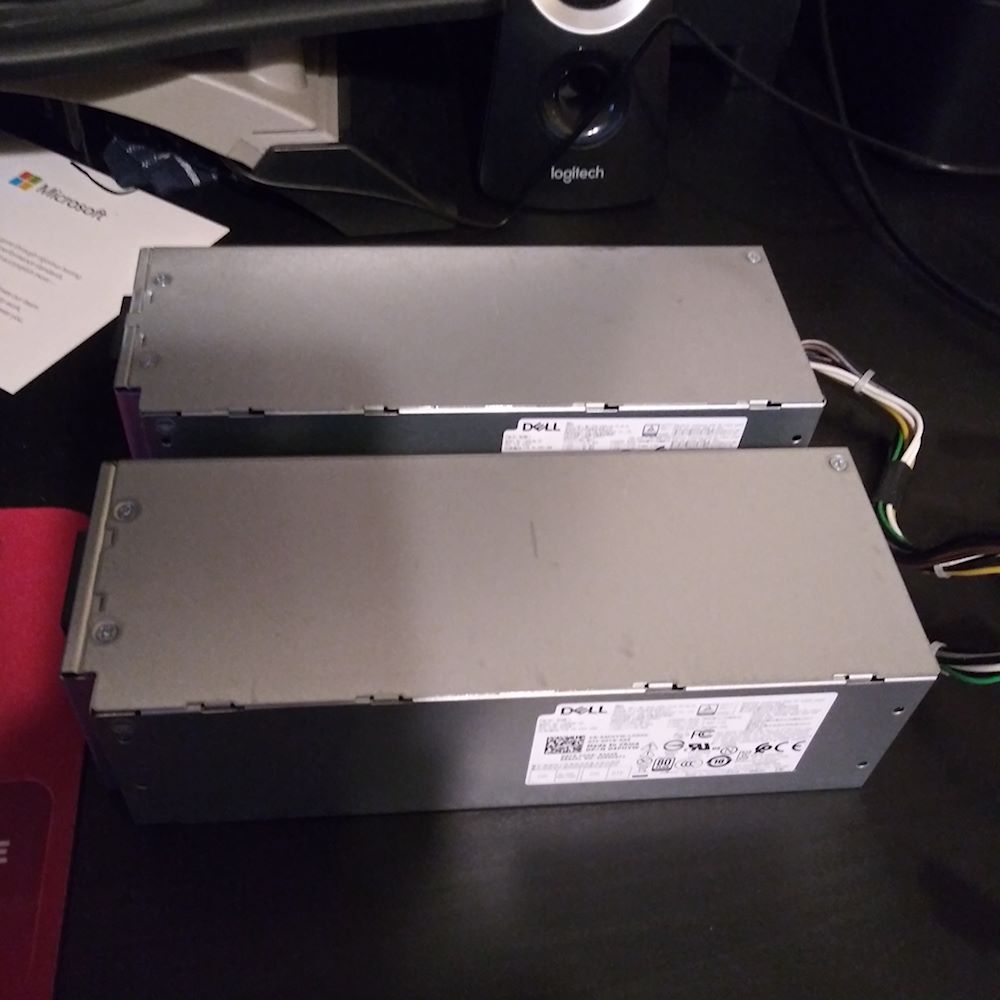
If we stick the K38XP next to the original L200EBS I pulled from my 3880, then we can see that they are exactly the same form factor.
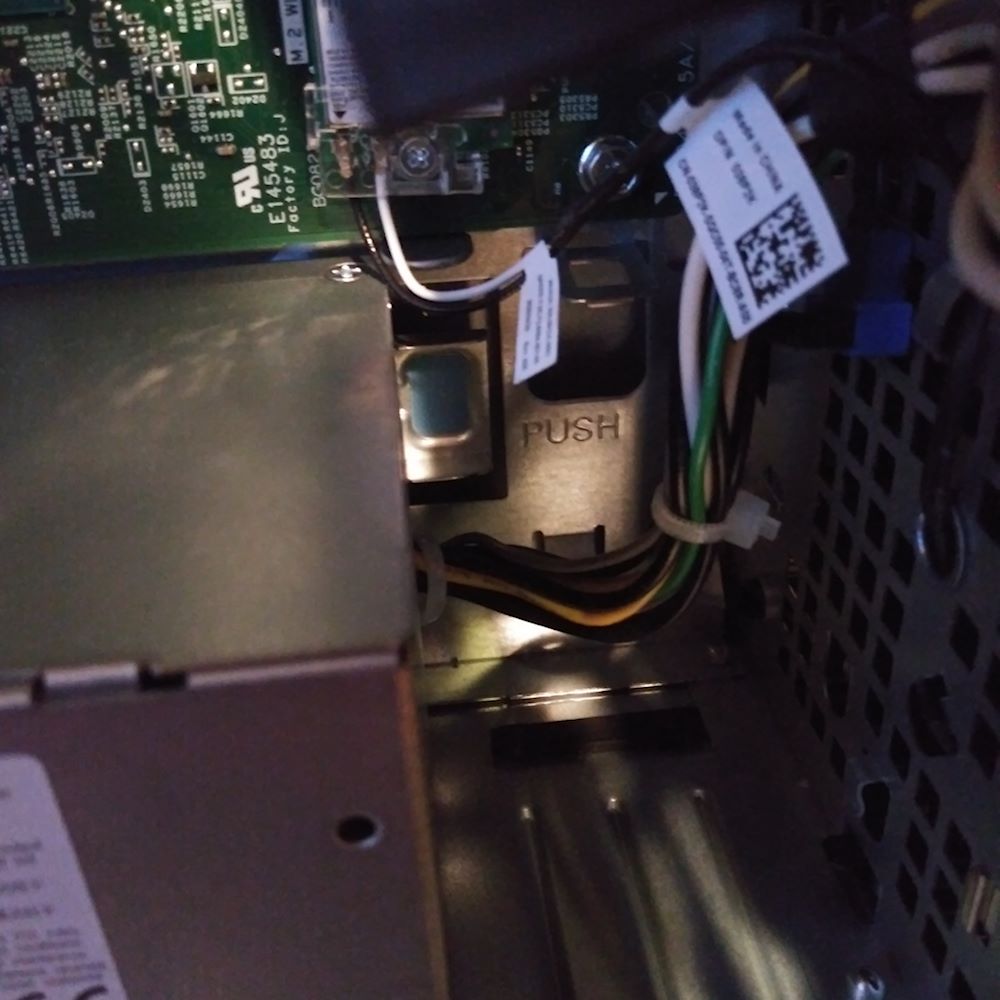
The swap is fairly easy, but it’s a very different process than changing out a standard PC PSU. Start by detaching the cables. Mine had two cables running to the motherboard. Then, on the back of the Inspiron, remove the three screws holding the PSU to the chassis. You’ll notice that the PSU remains attached despite the screws being removed. The screws are basically a formality; the Inspiron’s chassis has bump-outs that slide into the casing of the PSU. The screws act in conjunction with a small clip in front of the PSU to prevent it from sliding off of these bump-outs. Press the clip in, and slide the PSU forward. You can then pull it towards you, and thus out of the chassis. Here you can see the clip (blue):
Install the PSU of your choosing by completing the above steps in reverse order.
Sure enough, the K38XP fits and powers the machine just fine. Now, for my graphics card, I chose an AMD RX 550 made by MSI.Now, you may be asking why, if I got a PSU with a 6-pin plug for a gpu, did I go with a fairly weak 50-watt graphics card that doesn’t even require that plug? Good question. For one thing, it was cheap. For another, I don’t really know the limit of this machine. Yes, I now have a 360 watt PSU and a pin for a proper GPU. However, there’s no active cooling in this chassis, just a bunch of holes. A “good” graphics card can put out quite a bit of heat. I also don’t know for certain if the motherboard can supply the power via the port that a beefier card might need.
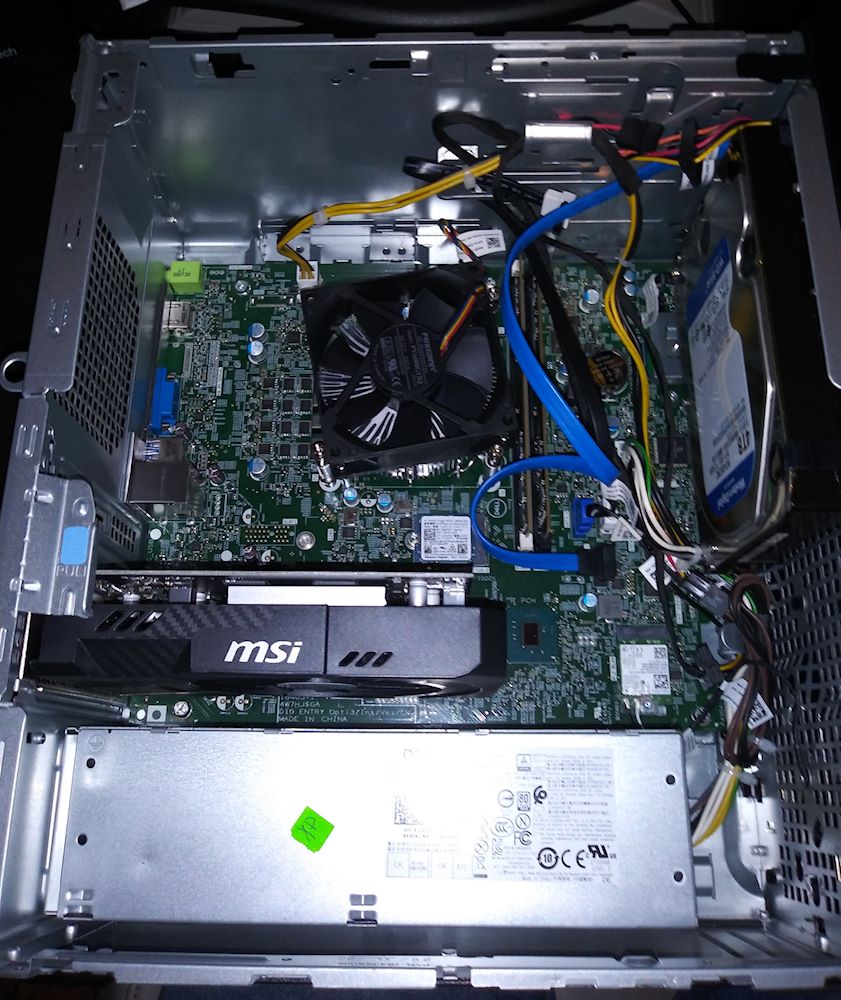
At this point, I thought it might be a good idea to add some sort of active cooling to the chassis. For this, I purchased a sata to 3-pin fan adapter and used it to power an 80mm case fan that I had in my spare parts box. Although it worked, the fan spun at full speed and the noise was intolerable. Luckily, a fan I had bought for a previous build came with a small resistor cable that slowed it down. I borrowed it, and the result was a fan that still worked to move hot air out of the chassis but did so at a very reasonable volume. In fact, I’d say the noise is rather similar to many other Dell systems I’ve used.
Of course, now that I had a small gaming PC, it needed a bit of cool gaming PC lighting. Luckily, my fan has a few blue LEDs. In normal use this isn’t seen, but turn the lights off in the room and a nice blue glow emits from the venting in the side panel.
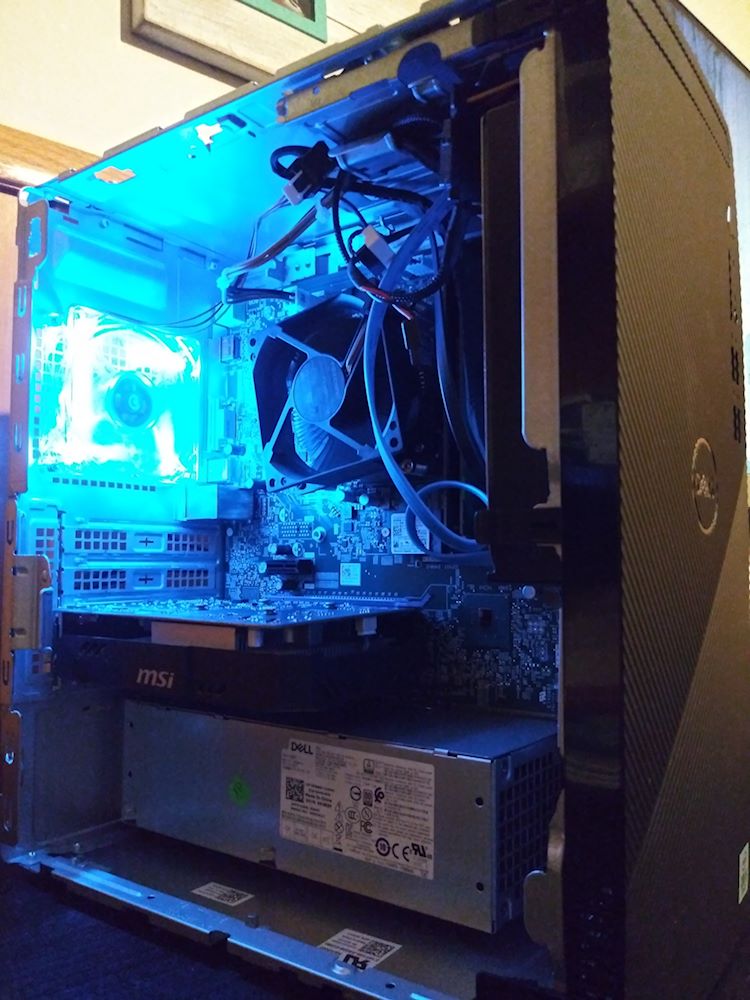
There you have it. With just a bit of eBay scouring I managed to turn my entry-level PC into an entry-level gaming PC. I have been using it like this for several weeks now, and it has worked just fine. That said, I’ll reiterate that this is definitely not Dell recommended. If you do this, note that you are doing it at your own risk. I am not responsible for any risks you choose to take.

